


Have I said how much I adore it? Because I do! It really finishes off the bedroom. Here are the befores....


And this is how we did it...
We bought a sheet of plywood and four 1x2's for the frame. After measuring the bed we decided to have an overhang of about an inch on either side, so it extends beyond the width of the bed. The posts go down to the floor, so we notched out space in order for it to sit flush against the wall and fit around the baseboard.
Tony made pilot holes for the screws so they will sit flush. He added a ton at random, so it wouldn't move around. Next went on the 1 inch foam. We bought a little under what we needed because it was cheaper and also unnecessary, since the very bottom is covered by the mattress. Once cut, Tony used spray glue to adhere it to the plywood and make it easier to work with.


It was pretty cold and windy by the afternoon, so we brought it inside to finish up. Tony stapled the top and then he had a brilliant idea to deal with the stretch the fabric had, which was in one direction only. With the extra wood used for the posts, he stapled them to the bottom of the fabric, in order to provide even weight needed to staple the fabric without creating weird pulls. Hazah!
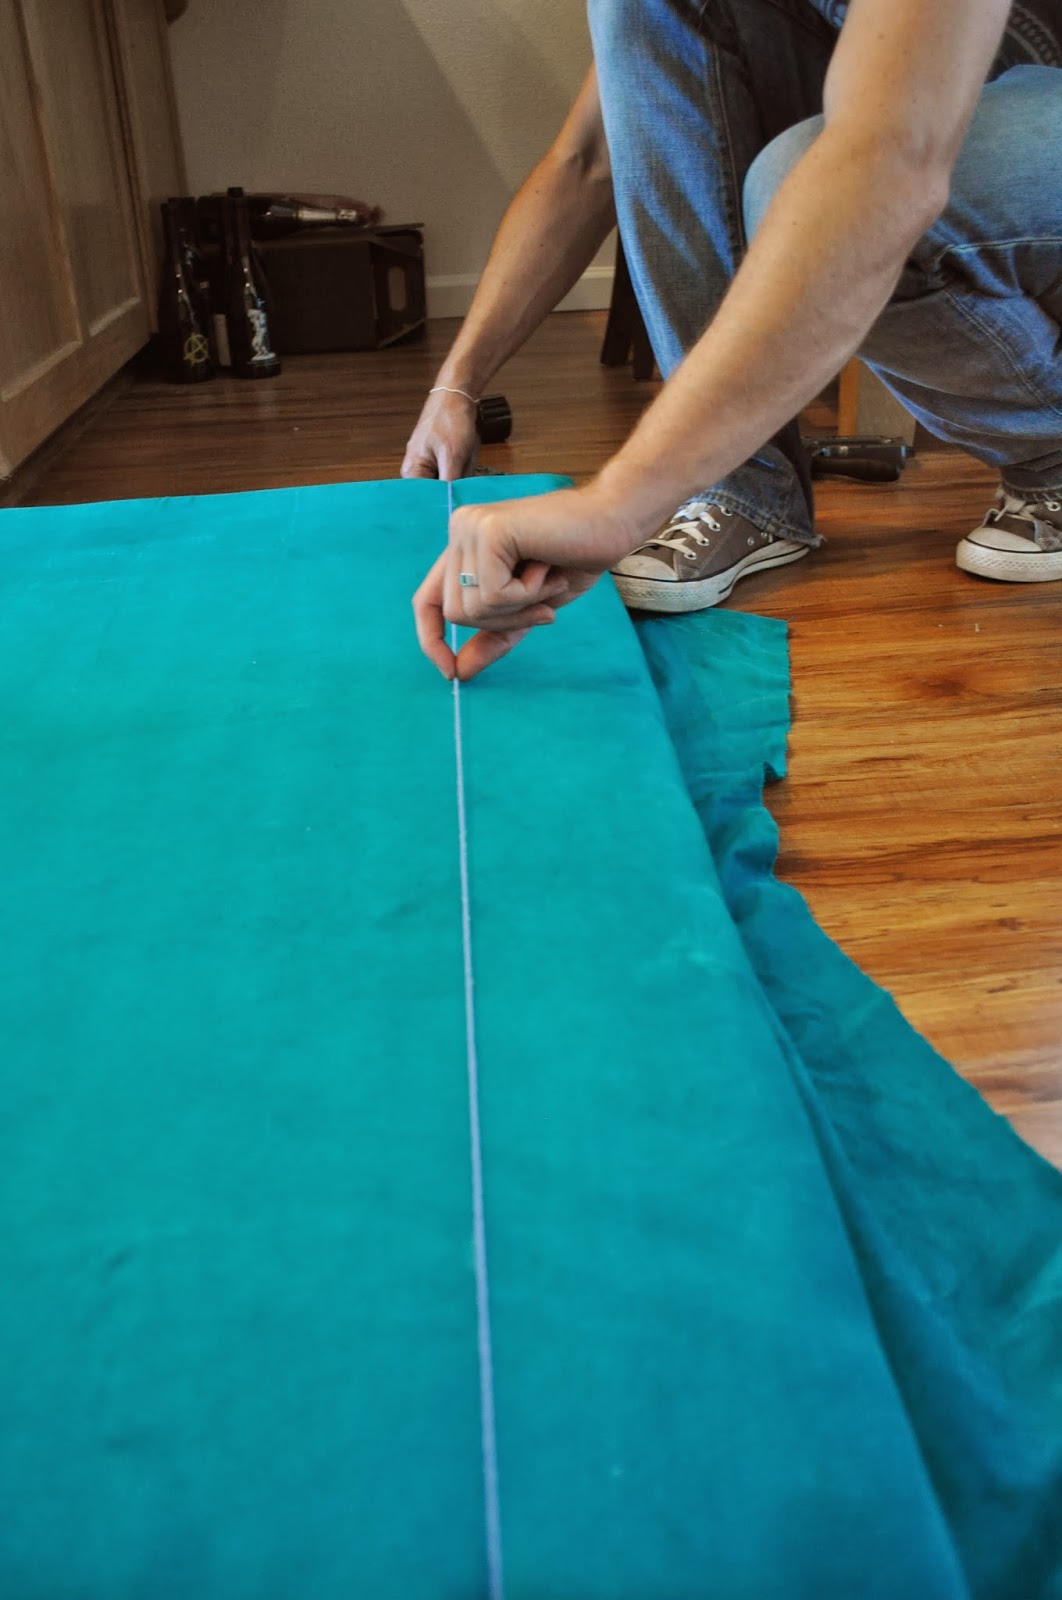
After we figured out where we wanted the upholstery tacks, we used a chalk line to make the application easy. Finally, the tacks were hammered in, we used an easier option than all loose tacks. I think we would have pulled our hair out if we had to hammer in each one individually.
Once that was done, we used L shaped mounting brackets on the bottom and nail/screw hanging brackets for the back. It took a few tries to get them on, but it wasn't too bad. Then we stood back and admired how beautiful it looks.


I love the headboard! Now I need to buy a California King bed and make one :) I also like T's cordless circular saw! We are part of the dewalt fan club ;)
ReplyDeleteIncredible. I love that you showed how much went into making the headboard and final fabulous outcome. LOVE the color too.
ReplyDelete